November 25, 2010

HAPPY THANKSGIVING plus a little distressing tutorial;)


 HAPPY THANKSGIVING! 
This year, one little word sums up what I am most grateful for: Family. Today much of my family is not with me so I am really missing my dad, my brother, my mom-in-law, my father-in-law {whew, this would be a very LONG list so I'll stop there}... I wish you were all here and I send you all my love and just a few photos from the last few weeks...


A little shout out to this guy...he made me an entire BOWL of pancake crispies with chocolate chips on top yesterday for breakfast...you know those crispy edges on pancakes {I LOVE THEM} and I love him for being so kind, so caring, so considerate, so thoughtful AND such a great chef!


As for scrapping...this is my slow time of year, too busy living in the moment to scrap much but I do have a special project to share with you today. It hangs right at the bottom of our stairs in the foyer so I see it all the time.


I started with an Adornit Family Frame kit and spritzed the edges and the parts that would show with a bit of brown Maya Mist. Then I began covering it with my favorite Sweet Summertime paper, Sunflowers!
I simply used some glue to adhere the paper.
 Then I got to work filing, sanding, general distressing...
 I was going for an antique look so I added LOTS of inks!


Once I had the backing completed I set to work on the family cutout.
 Again I was really going for that antique look so I used some distress ink on all the papers.
 I used my trusty no measure, just hold up in the air and see if it fits method for backing the individual letters. For some letters I used photos, for others I used some classic Cookbookin' papers.

Finally, I adhered three photos to the wooden cutouts that hang from the family plaque. I printed all my photos in sepia and even sanded them a bit to give even more "age."

To finish off my project I added a few Sassafras buttons, Prima flowers and checked ribbon. 

Happy Thanksgiving~~~

November 7, 2010

So many sketches!!!


I have THREE new sketches and layouts for you today! The first is from Cookbookin' and features my newest favorite recipe, Stromboli! Julie Bonner was kind enough to design the sketch for this month's challenge over at the Cookbookin' blog and here it is, isn't it fantastic!?!?!


This is my interpretation featuring my super yummy Stromboli!
~Papers are Cookbookin, flowers are Prima, pins and envelope are Maya Road~
~The BRADS are some older Cookbookin'~


If you'd like to enter the drawing for this Sugar and Spice kit from Cookbookin, just head over here for details.
*******************************
There is also a great sketch up this week at Let's Scrap! I really don't know how Cheri comes up with great sketches week after week but she does! Here is this week's:

And here is my take on the first page:
I used some of the yummy Garden Variety papers from Cosmo Cricket. I am back in love with lollipop flowers, they are just so fun and EASY plus I love how they look on a page. This layout is about my sweet baby bear picking out his very first pumpkin at Gentry's farm only two super short years ago. Hard for me to deal with how fast they change...here he is this year {looking like a little boy}, and having a little trouble picking out "just one."


***************************
And finally, another Julie Bonner sketch, this time from My Creative Scrapbook. You can view Julie's sketch here. I used the MCS September main kit for this layout of my youngest daughter at Cheekwood a few weeks ago during the Chihuly exhibit. I can't believe that the first photo I have scrapped from that trip is one WITHOUT any Chiluly in it;)


 The flowers in the kit are just beautiful! Some of them didn't quite match the colors I was looking for so I inked them with some green and yellow ink and voila!

Happy Scrapping!

November 5, 2010

Magnet Mania!


I have been having oh so much fun making magnets lately! 
Figures that I have a Stainless Steel fridge:(

Magnet projects are quick and easy, and they make great little gifts. My current favorite is this bottle cap magnet. I used a Maya Road bottle cap, filled it with Imaginisce paper, Prima flowers, various brads and some Making Memories trim. Isn't it cute!

I also made some darling pumpkin glass magnets with my daughters.

This is so TOTALLY simple to do that you can use it for a party craft at school! 

Here's how!

Supplies:
Cardstock
One inch circle punch
Large flat glass marbles (found in craft or floral supplies)
Orange ink, non-toxic
Green marker
Elmer's school glue
Small magnets

Precut one inch circles from cardstock. Then have each child make an orange thumbprint on a circle. 

Once the thumbprint print is dry, about ten seconds, have the child draw on a stem and vines.
Then the child can smear the front of the circle with Elmer's glue and stick it to the flattened side of a glass marble. Elmer's will dry nice and clear;) Use that same {cheap} Elmer's glue to adhere a magnet to the back! Voila, a cute Autumn gift for mom! I wrote a little date on the back of my girls' magnets...so that might be nice too.

And here is the little Fall display on my fridge:

**************************
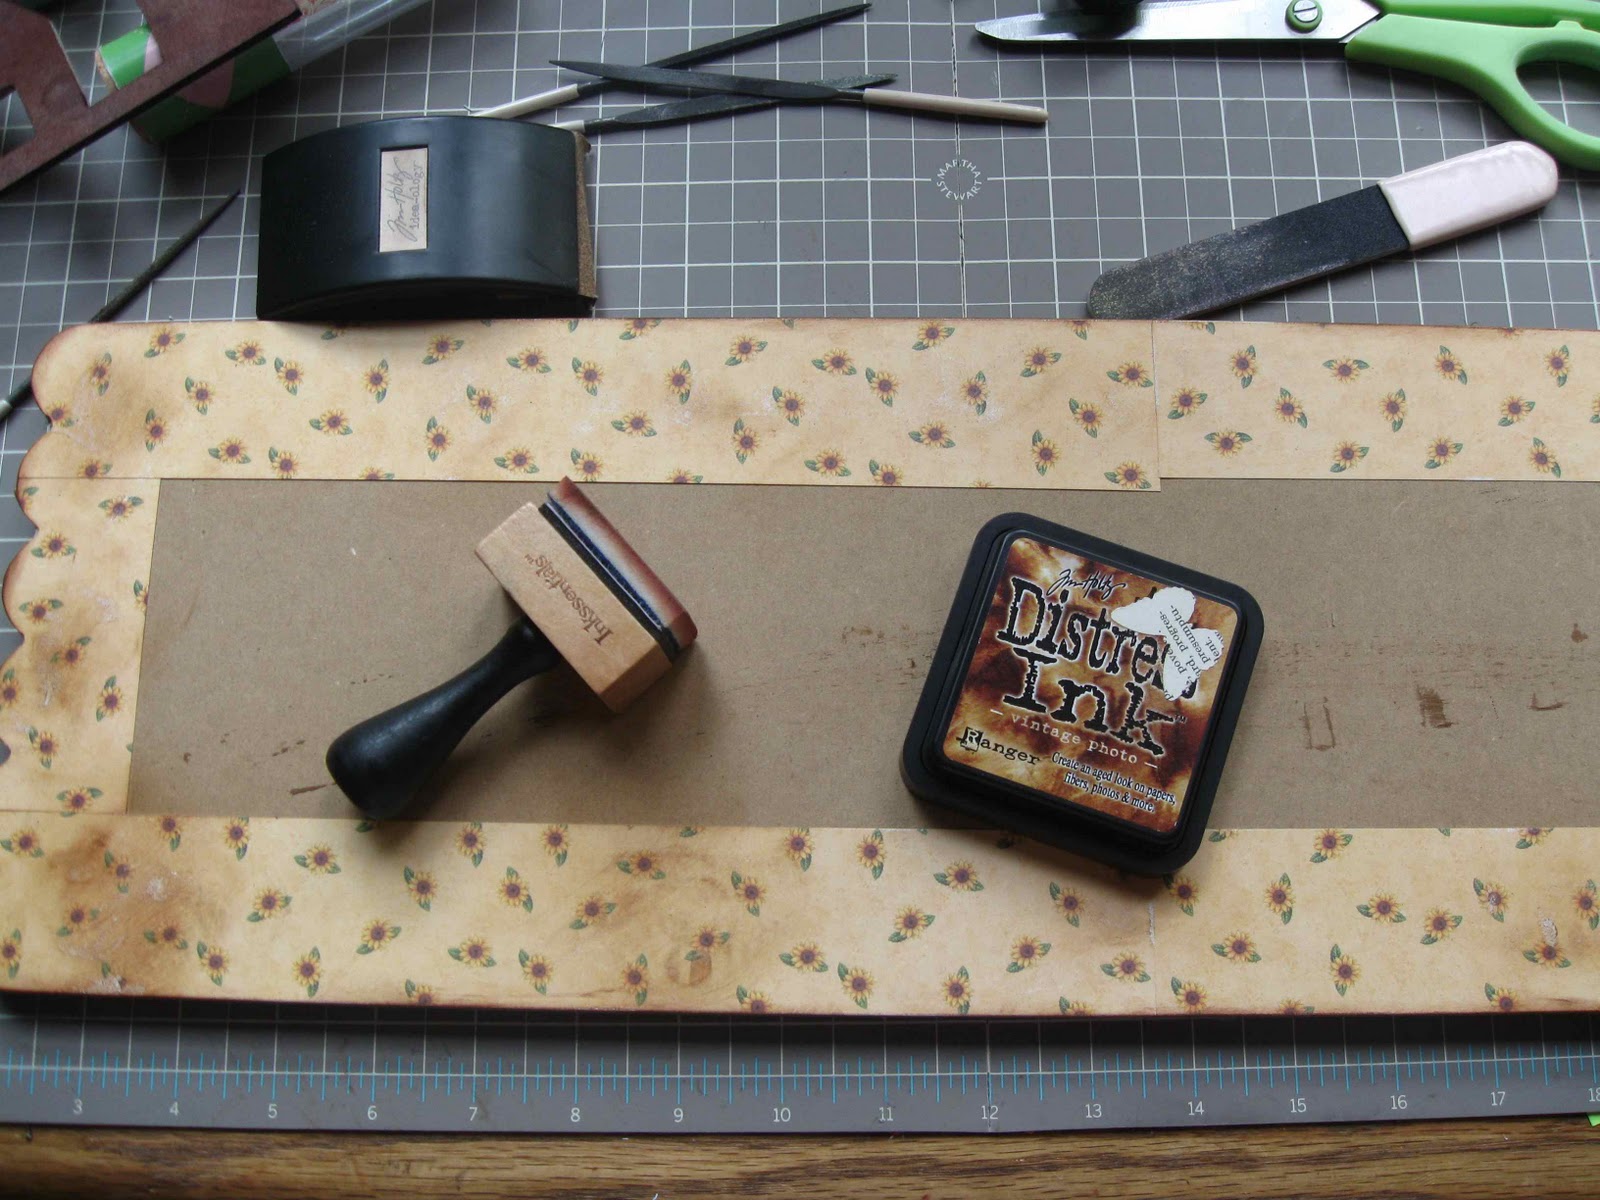
I used this same idea to make a recipe card holder with my grandma's cheese grater: This is the tutorial I ran a couple weeks back on the Cookbookin' blog:


While having coffee at a very trendy local coffee place called "The Good Cup," I saw THE cutest display of handmade magnets stuck on an old cheese grater. Of course, I jotted down a quick sketch to take home with me and here is what I came up with:

PERFECT for holding recipes in the kitchen and the grater belonged to my grandmother!!! Oh, I just love how this project turned out and making the magnets is a snap.

Supplies:
Glass beads/flat marbles
Patterned paper
Circle punch
Magnets
Mod Podge (or whatever glue you have) & hot glue
That's it!

I began my project by punching out several circles from an assortment of Cookbookin' papers. I used a punch size just a tiny bit smaller than my glass pieces.
Then I adhered the paper to the glass with Mod Podge. Fun and simple to paint on with a brush! You do want to rub all the air bubbles out with your fingers so your finished magnet looks nice and clear.


Next, I used hot glue to adhere the magnets. Hot glue has the hold and the speed to get the job done quickly.
There! That's it!!! Simple isn't it!?
There are TONS of tutorials and examples of other glass decoupage magnets on the internet. Some of my favorites are:HowToDoThings
Just in this last week I have found another GREAT tutorial on applying this idea to necklaces! Check out Scrapbook&CardsToday!

You can also find them for sale at my trendy little local coffee shop or by a variety of artists on 
Etsy!

But of course, I prefer to make my own;)
I'm using my magnets to display my grandmother's recipe cards on her antique grater. I just love seeing her handwriting AND knowing that the grater belonged to and was used by her. Loving her handwriting makes me realize I need to preserve my own, as much as I HATE it.


***************************
And finally, in case you don't have ENOUGH ideas already. I have been using those magnetic business cards to make cute little scrappy magnets. These are super simple, basically just glue your photo onto an old magnetic business card but if you'd like a tutorial click here.
This magnet uses Cookbookin' papers and teeny tiny little buttons for JoAnn's.
And this magnet is simply framed with some Martha Stewart tinsel ribbon. 

And with this project {and my December Daily album that is in progress ~all my pages are covered with the adorable line Cottage Christmas by Imaginisce and I even have some of the pages completely decorated} I have officially started my HOLIDAY SCRAPPING projects!


Happy Scrapping,

November 1, 2010

Happy Halloween!


We had a FABulous Halloween this year! The kids were great all day long and we didn't get too inundated with "is it time yet?" I even had a few minutes to myself to pop out a quick Halloween necklace!
I used Cookbookin' products; more details and photos can be found on their blog.

~~~HALLOWEEN~~~
This year my kids decided on a Toy Story theme. My 13 year old actually came up with the idea as he wanted to be the "Chicken Man" from Toy Story 2. Baby bear is currently obsessed with "Buzz Wikeyear" so it all fell into place really easily. The deciding that is. Costume sewing wasn't quite so easy for me...
And NO, I did NOT sew the chicken costume OR the Buzz costume, thank you Target!

Now, for the EIGHT MILLION Halloween shots of my kids...
 Off to the forest for a photo shoot with mom~

 "To Infinity and BEYOND!"

CHICKEN MAN!


Little Bo Peep


Jessie

 The Gang is...

 getting a little cheesy and...

 starting to yawn...
The End;)

I did get a couple really cute shots of Buzz Trick-or-Treating. He couldn't keep up with the group so he was often going to the door all by himself which didn't bother him one little bit! 

His little wings bounced up and down as he walked...cutest thing EVER!

Hope you all had as great a day as we did!
Related Posts with Thumbnails